Quick Links
There are a few different mission types that players can choose to complete in 7 Days To Die. Some, like buried treasure missions, are pretty straightforward. However, there are some jobs that are incredibly tough to complete. As you progress through the trader tiers, you'll unlock tougher missions. Some of the toughest missions in the game are infested missions. Players can opt to charge into a building filled with all sorts of undead enemies and take them all out.
These missions, while challenging, are excellent for gaining XP, farming loot, and getting hold of some good and sometimes rare rewards. This guide will go through all there is to know about completing infested missions in 7 Days To Die.
How To Start An Infested Clear Mission
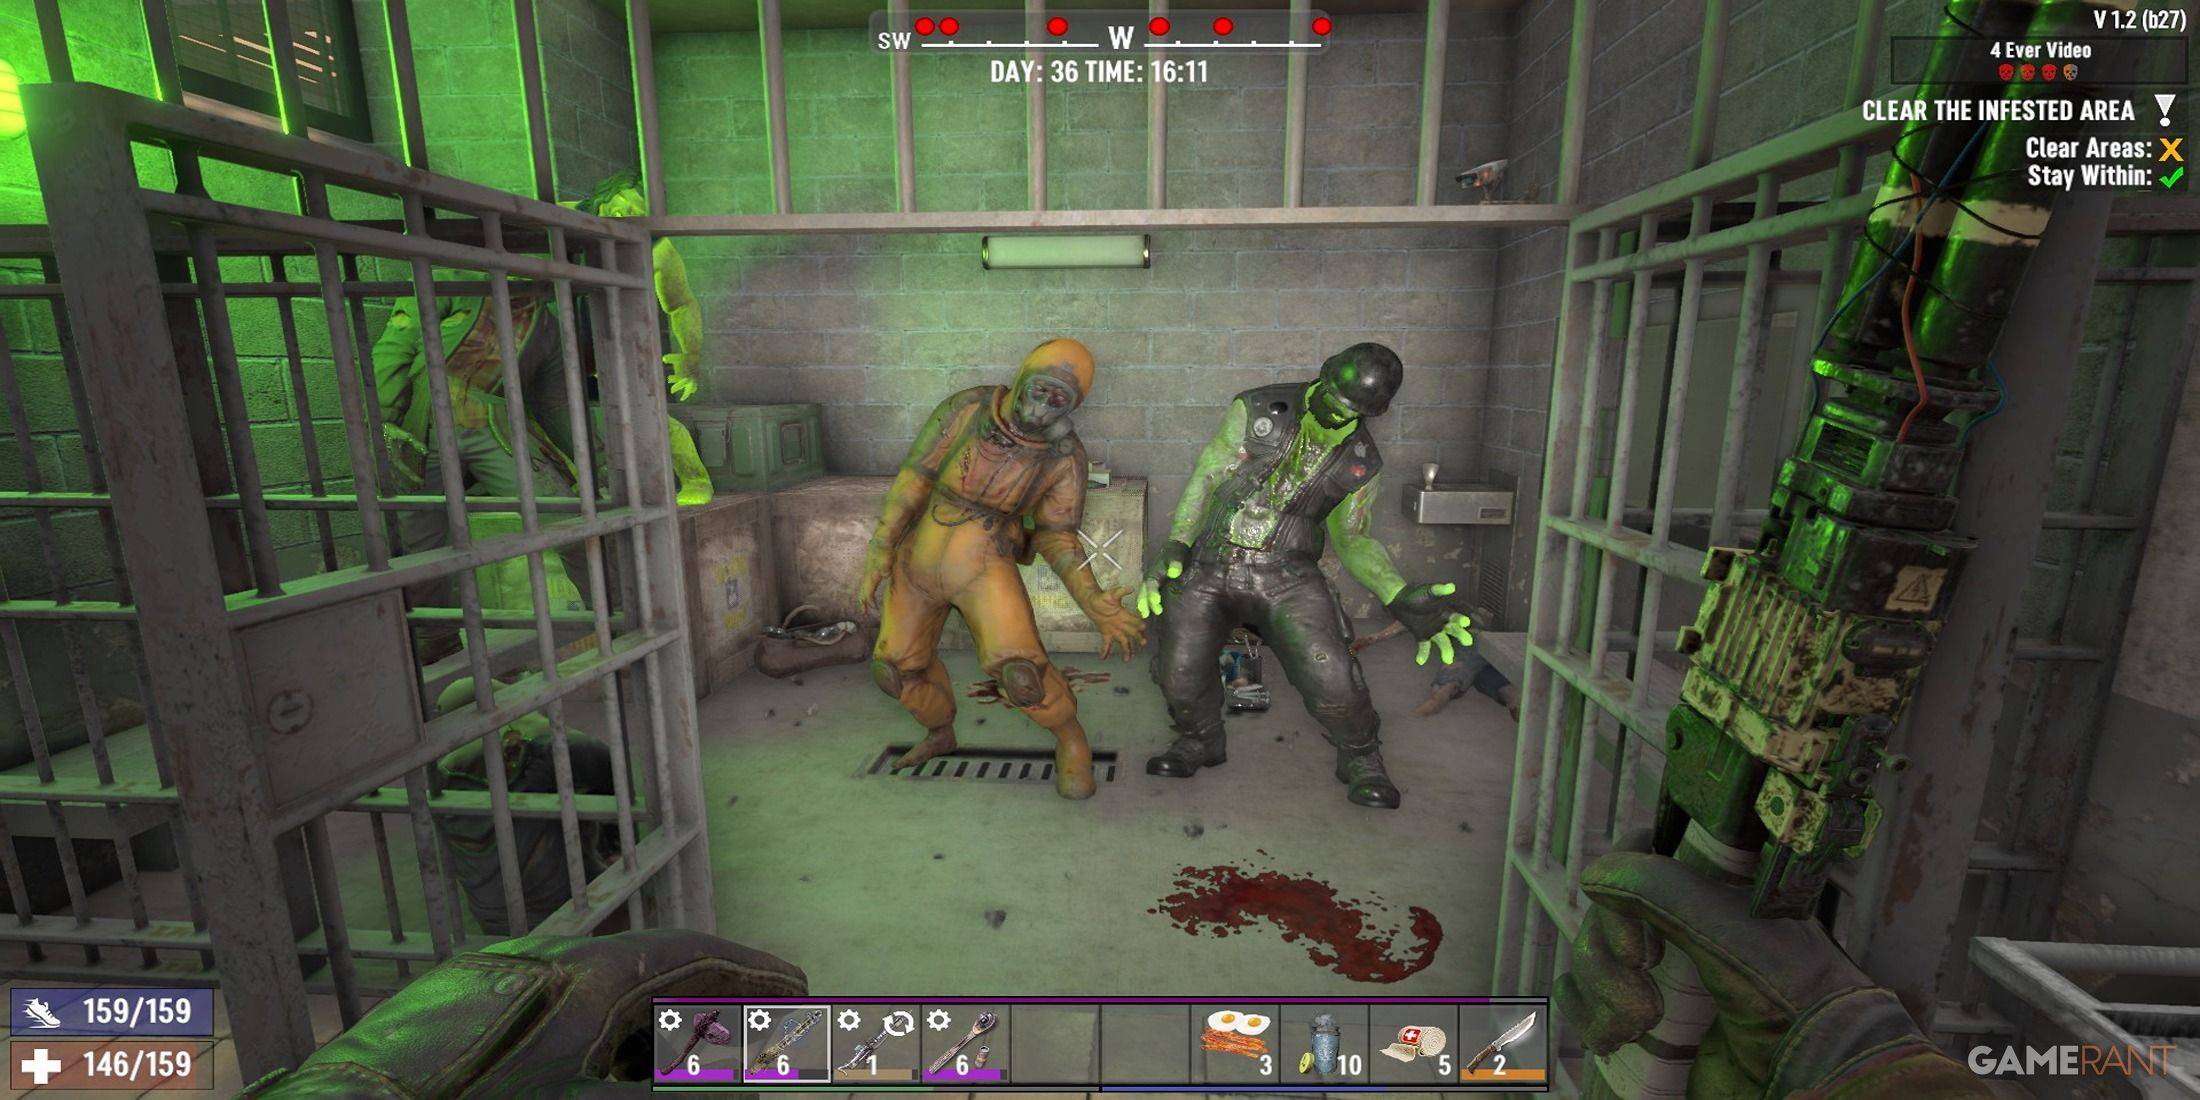
To start any mission, you'll need to pay a trader a visit. On a standard map, there are 5 different traders; Rekt, Jen, Bob, Hugh, and Joe. For the most part, it doesn't really matter which trader you speak to. The things that do matter are the mission location and the mission tier. The higher the mission tier, the more difficult the mission. Also, the biome where the mission takes place plays a role in how tough the enemies will be. For example, a mission completed in the forest is far less likely to have lots of ferals when compared to a mission that takes place in the Wasteland.
Infested missions can be started after you have unlocked tier 2 missions. To unlock tier 2 missions, you'll need to complete a total of 10 tier 1 missions. Infested clear missions are considerably harder than standard clear missions. You can expect to come up against more zombies than normal. Not only that, but the zombies tend to be tougher zombies, like radiated zombies, cops, and ferals. Tier 6 infested clear missions are by far the most difficult missions in the game. However, by the time you have gained access to tier 6 missions, you should be well-armed and ready to take them on. No matter what tier the mission is, the objective for infested clear missions remains the same; eliminate all enemies within a certain area.
Completing An Infested Clear Mission
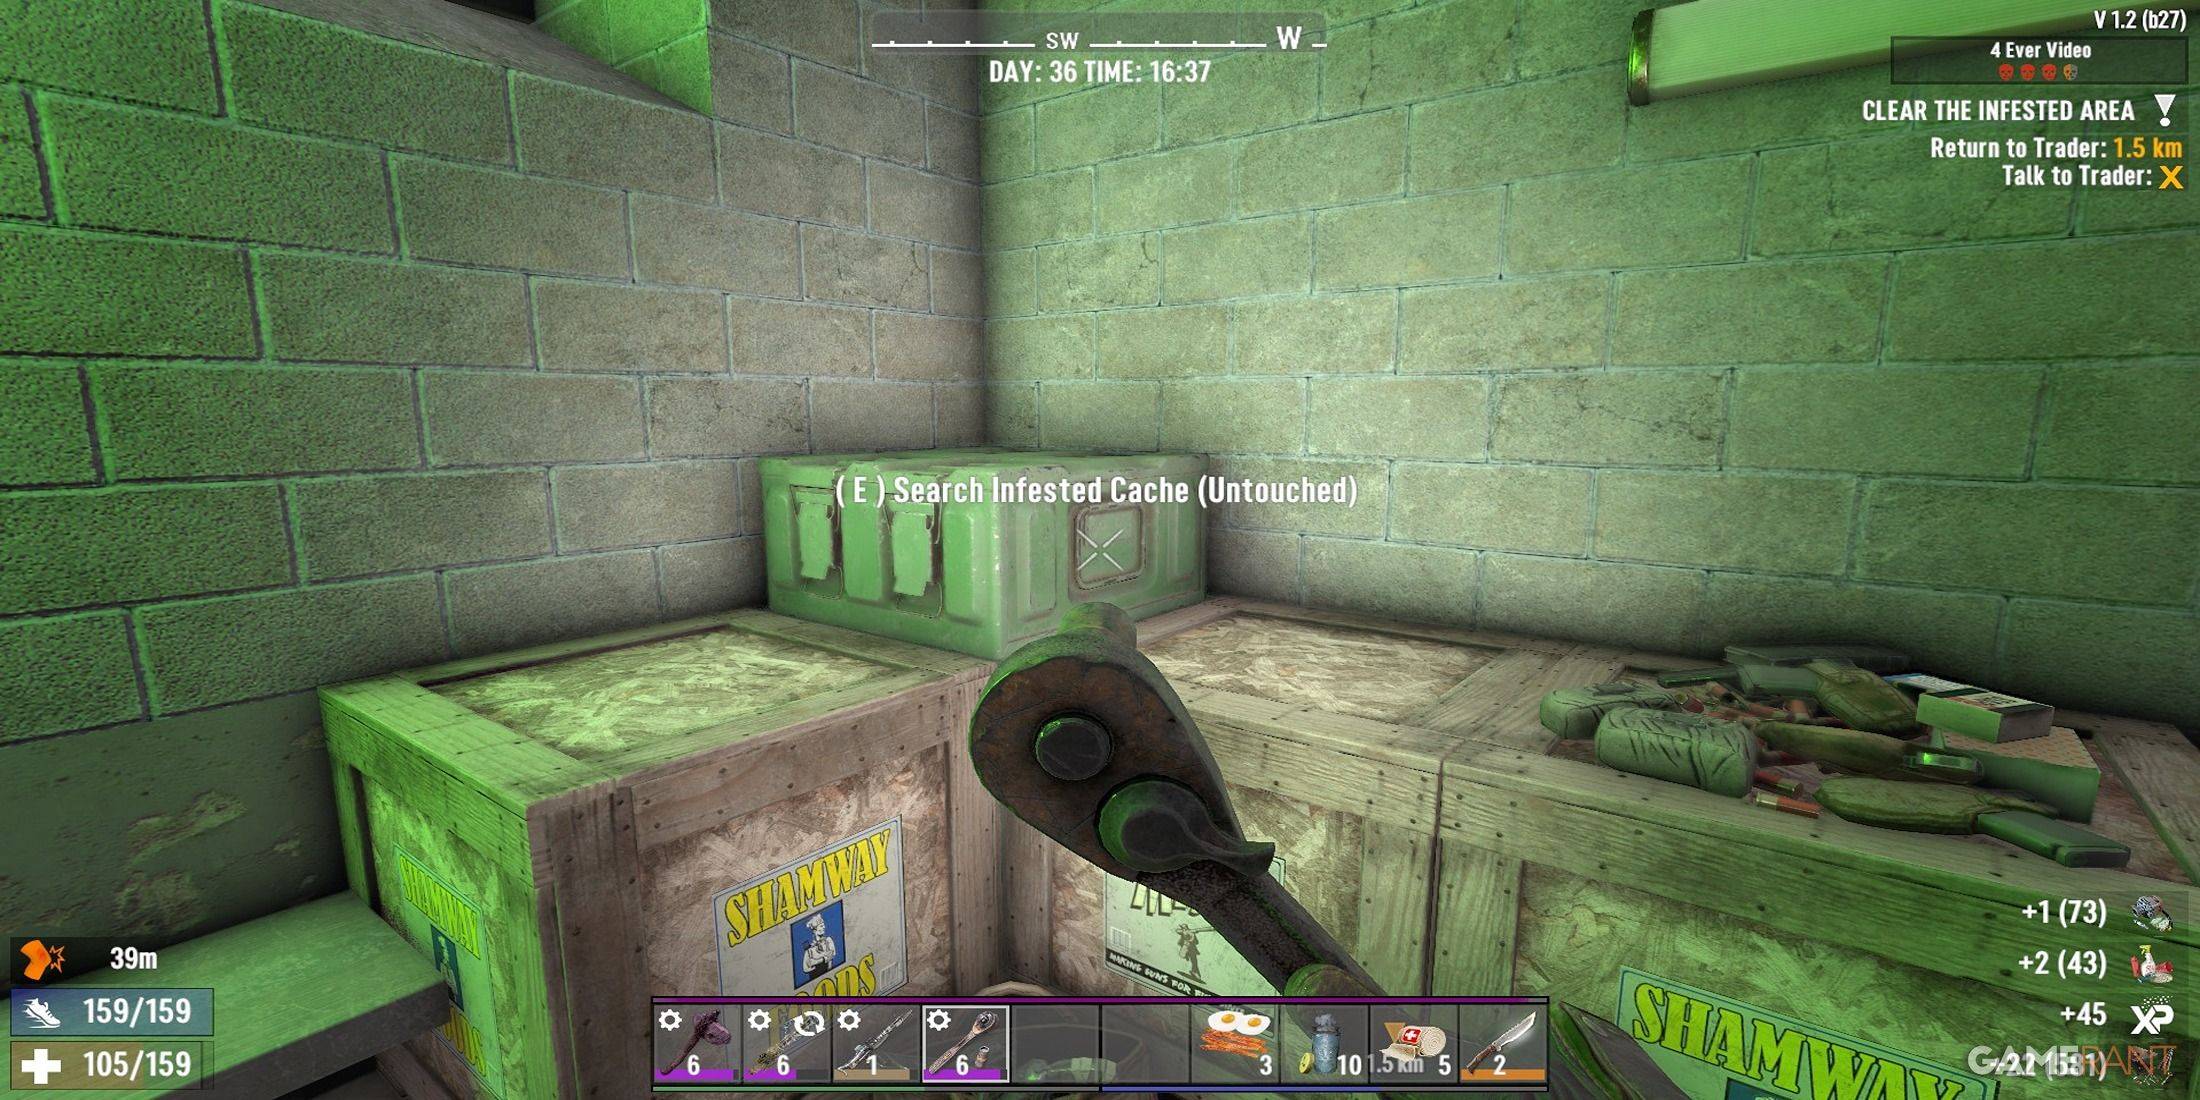
Once you have arrived at the POI (point of interest) where the mission takes place, you'll need to activate it by interacting with the marker in front of the building/area. Activating this marker means that you can't leave the area. If you stray too far from the POI, then the mission will fail. Also, if you die during the mission, this will cause you to spawn outside the mission area, meaning that if you die, you fail the mission.
Every location in the game wants players to go a certain way. Inside each POI there are several trigger points. A trigger point is an event that takes place once the player crosses a certain threshold within a POI. This can be anything from the floor collapsing to a horde of zombies jumping in from above. To avoid this, take an alternative route through the POI. The way that the game wants you to go is usually lit up by torches, lanterns, or any other type of lighting. If you avoid following the designated path, then you'll also avoid accidentally triggering a dangerous trap.
One helpful tip when clearing dangerous locations is to always carry a handful of building blocks. That way, if you ever fall into a trap, you can quickly build your way out of it. Also, you can use the blocks to hop up the side of a building, avoiding the main path, and allowing you to take the zombies by surprise.
When it comes to any clear mission, as soon as a zombie has been activated, it will appear as a red dot at the top of the screen. The larger the red dot, the closer the zombie is to you. Using this, it's possible to keep track of the zombie's rough location, preventing you from getting overrun.
As for killing the zombies, just like almost every other zombie-based video game, the head is their weak point. While a few cracks to the head are usually enough to take down most enemies, there are a few with special abilities that are worth keeping an eye out for:
Zombie Type
Abilities
How To Handle Them
Cops
Spit toxic vomit and explode when injured
Cops typically throw their heads back prior to spitting the toxic vomit. Use this time to find cover. Try to always keep some distance to avoid being in a cop's blast zone.
Spiders
Jump across large distances
Listen for the screeching sound. They make this sound right before they jump. Once they are near, get in a few quick headshots
Screamers
Scream to summon other zombies
Prioritize killing these over other zombie types to prevent being overrun by lots of zombies.
Demolition Zombies
Have a glowing explosive package taped to their chest
Don't hit their chest. If you do, the explosive will begin to beep. Should this happen, run as far away as possible.
When you get to the final room during an infested clear mission, you'll see lots of top-tier loot containers. While you are going to want to search all of the containers, you should also be careful. Most infested clear missions save the largest number of zombies for the loot room. Once you step inside, there's a high chance that you'll be swamped by zombies. Before going into the loot room/area, make sure that you are fully healed, your weapons are durable and reloaded, and that you know your way out. One key rule for survival is to always know your existence. If things get too dangerous, you'll need to get out, fast.
Once you have cleared all of the zombies, your mission objective will change, and you'll need to report back to the trader to claim your reward. Before leaving, be sure to grab all of the valuable loot from the final room. One big difference between a regular clear mission and an infested clear mission is the loot. On top of the standard loot crates, you'll find an infested cache. This box usually contains enough ammo, magazines, and other quality items to make the mission worthwhile.
Infested Clear Mission Rewards
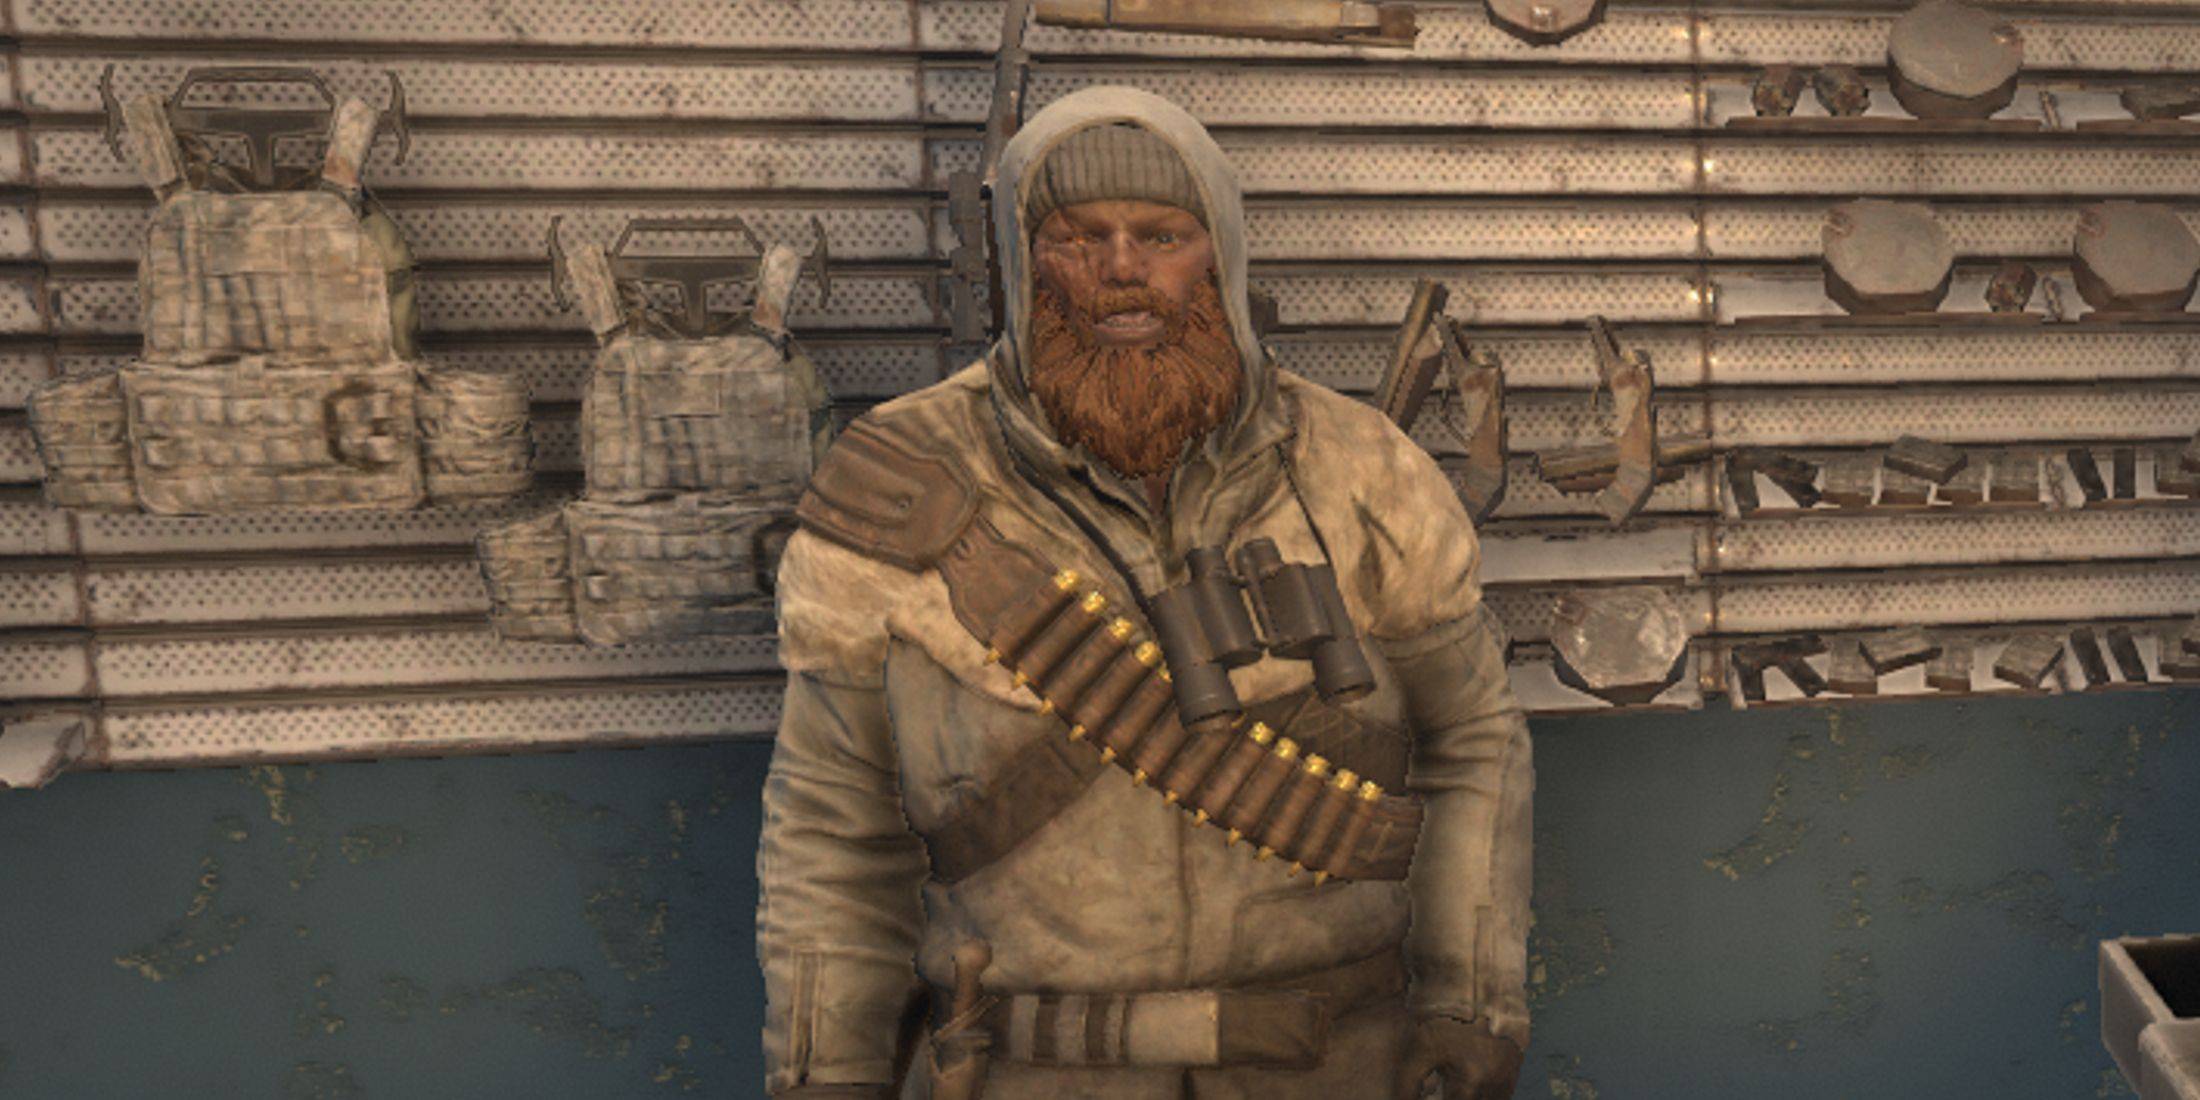
Once you have returned to the trader, you'll be able to choose a reward. The reward you get is random. However, the quality/rarity of the rewards available depends on a few factors:
- Game Stage
- Loot Stage
- Tier Selection
- Skillpoint Selection
Your game stage goes up naturally while you play. While the same is true for your loot stage, there are a few things you can do to boost it. Lucky Looter is a skill that helps to bump up your loot stage. There's also the treasure hunter's mod that further increases it. As for your tier selection, the higher the mission tier, the better the rewards.
The final thing you can do to get the best rewards is invest points into the perk A Daring Adventurer. This increases the number of Dukes you get for completing missions. Also, at rank 4, this perk allows the player to select two rewards instead of one upon completing a mission. This is a real must-have perk for those who enjoy completing missions. The extra Dukes are a huge help. However, being able to grab two rewards can be incredibly beneficial, especially if they are rare rewards such as solar cells, crucibles, or legendary parts.
After you've claimed your rewards, it's always a good idea to sell any unwanted items you picked up during the mission to the trader. Each Duke you make in a sale gives you 1XP. While it doesn't seem like much, if you sell items in large quantities, it's possible to get thousands of XP with just the click of a button.


