In the vast world of *Minecraft*, a mob spawner is as vital as a farm or a villager trading system. Here's an easy-to-follow guide on constructing an efficient mob farm in *Minecraft*.
How To Create a Mob Farm in Minecraft
Step 1: Collect Resources
Building a mob farm requires a substantial amount of blocks. You can use almost any type of block, but cobblestone and wood are popular choices due to their availability and ease of collection. Make sure to gather enough before you start building.
Step 2: Find a Place to Build the Spawner

Begin by building across the water, then ascend about 100 blocks. Create a small platform to stand on, where you'll construct the mob spawner. Install ladders for easy access. Finally, place a chest and connect four hoppers to it, as shown in the image.
Step 3: Build the Main Tower

Step 4: Build the Water Trenches

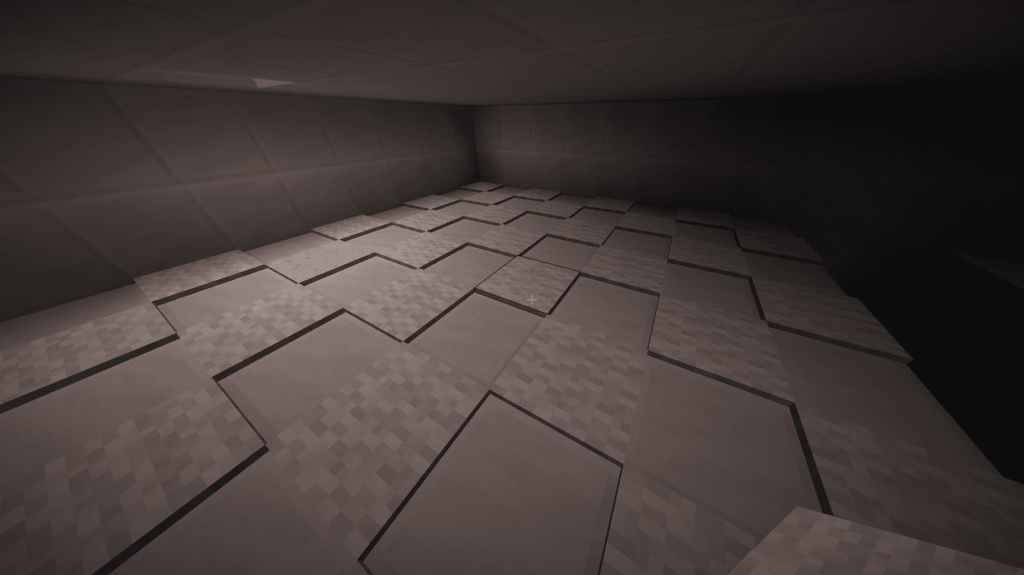
Step 5: Laying out the Structure and Filling Everything Up

Step 6: Adding Torches and Slabs
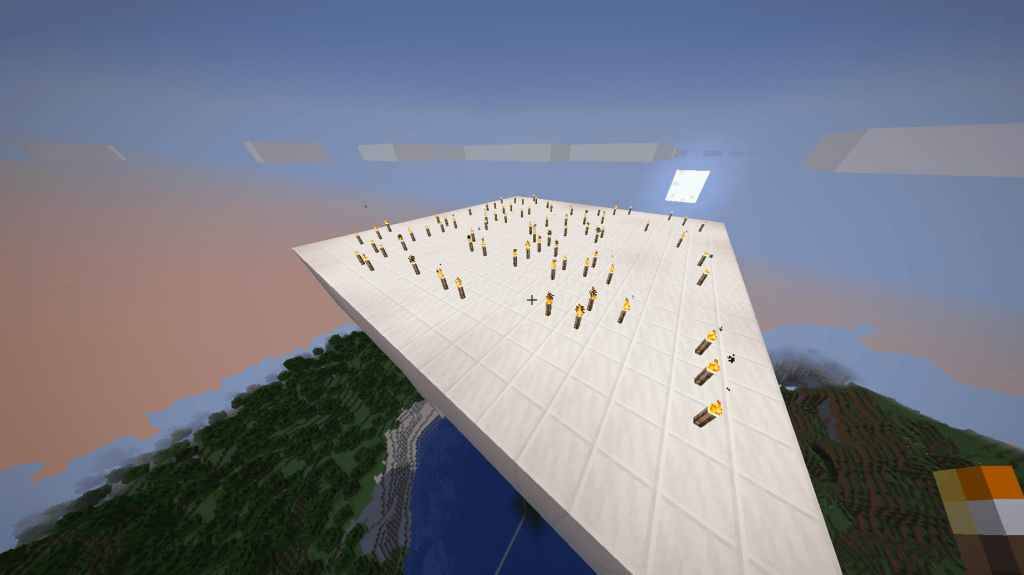 The final step is crucial for preventing mobs from spawning on the roof. Cover the roof with torches and slabs. Once done, descend, wait for nightfall, and watch as mobs fall into your trap.
Tips to Make the Mob Spawner in Minecraft More Efficient
 With the basic mob spawner complete, consider these enhancements to boost its efficiency:
Connect a Nether Portal
Link a Nether Portal to your mob spawner to avoid the tedious climb up and down. Alternatively, a water elevator can serve the same purpose.
Add Pistons to Easily Switch Between XP and Farming
The 21-block high tower allows mobs to fall without dying, perfect for XP farming. Increase it to 22 blocks to kill mobs instantly for auto-farming. Use pistons and a lever to switch between these modes effortlessly.
Add a Bed to Increase Spawn Rates
Placing a bed near your mob spawner can increase the spawn rate of mobs, making your farm even more productive.
Place Carpets to Prevent Spiders
 Spiders can be problematic as they cling to walls instead of falling into the trenches. To prevent this, place carpets every other block on the spawning surface. This setup will stop spiders from spawning while allowing other mobs to spawn normally.
And that's how you can create an efficient mob farm in *Minecraft*.
*Minecraft is available now on PlayStation, Xbox, Nintendo Switch, PC, and mobile.*