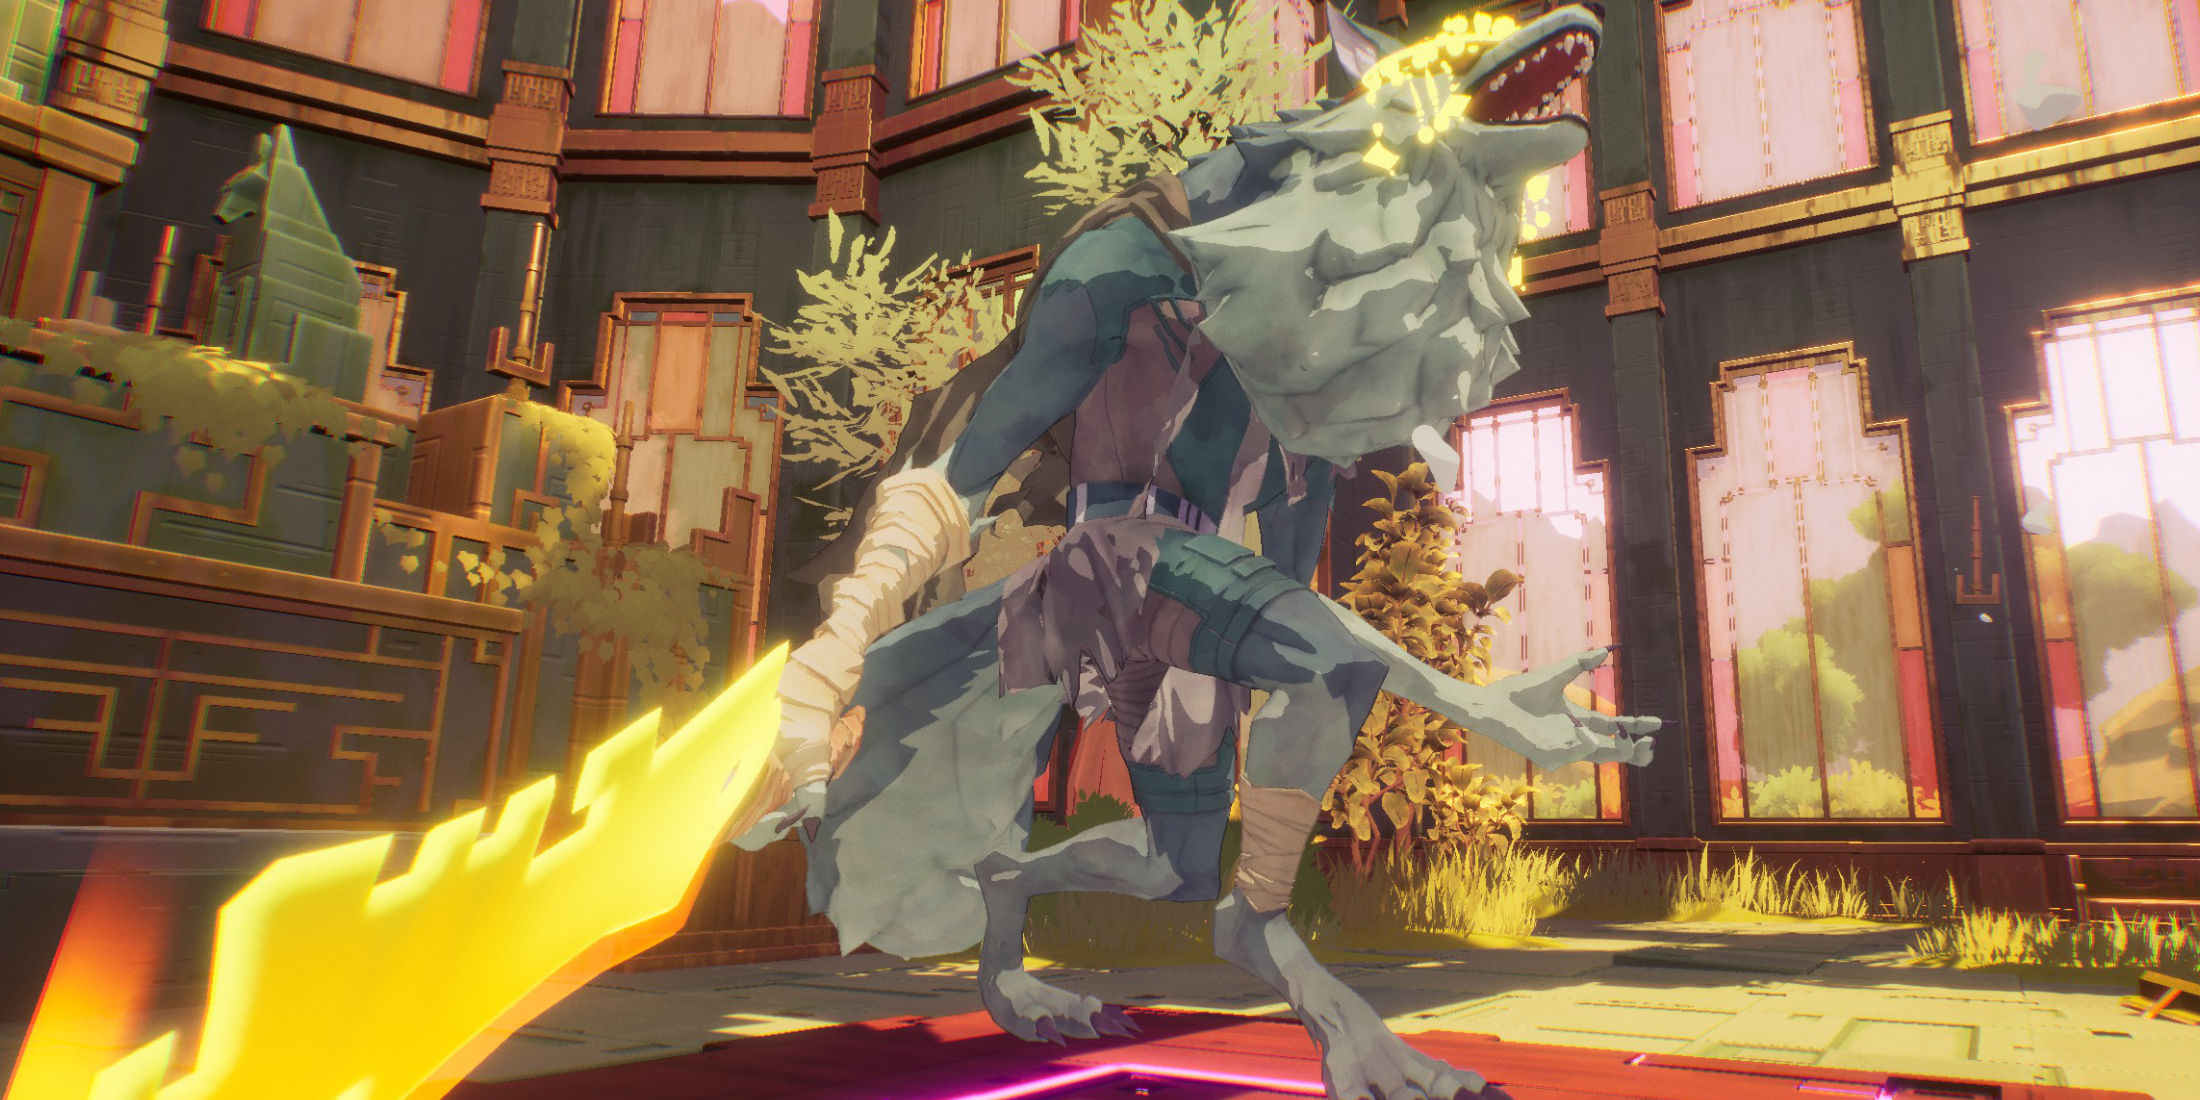
Hyper Light Breaker Targeting Guide: Lock-On vs. Free Cam
Hyper Light Breaker's lock-on system, while helpful, isn't always the best approach. This guide clarifies how to use it effectively and when to prioritize free camera mode.
How to Target Enemies
 To lock onto an enemy, center your view on them and press the right analog stick (R3). The game will automatically select the nearest target, unless it's obscured within a large enemy group. A reticle will appear, indicating your locked-on target. Line of sight isn't required; the enemy just needs to be visible and within range.
While locked-on, your character's movement will circle the target, and the camera will follow. Rapidly moving enemies can make this disorienting, potentially altering your input direction. To switch targets, use the right analog stick to select the nearest enemy. Press R3 again to cancel the lock-on and return to free camera mode. The lock-on will also automatically disengage if you move too far from the target.
Lock-On vs. Free Cam: When to Use Each
 Lock-on is advantageous in one-on-one encounters, particularly against bosses or strong (yellow health bar) enemies, after eliminating other threats. However, it significantly limits your awareness of surrounding enemies, making it risky in group fights.
Free camera mode is generally superior. For multiple enemies or weaker foes, lock-on is unnecessary and can hinder your ability to react quickly. Against mini-bosses or bosses, clear out smaller enemies first, then lock-on for focused attacks. If more enemies appear, disengage the lock-on to handle them before refocusing on the main target.
Consider Extraction scenarios: Prioritize free camera mode until all regular enemies are defeated, then lock-on to the mini-boss for a decisive strike. This strategic switching between lock-on and free camera is key to mastering combat in Hyper Light Breaker.


